Using an Integrated Development Environment
Learning Goals
- Define and start using an IDE
- Identify the benefits of using an IDE
Warm Up
Thinking back to what we learned about Computers and how they use input. In your notebook, write down some ideas on why we have been using REPLit to create programs, rather than a text editor like Word, Docs, or Notepad?
IDE
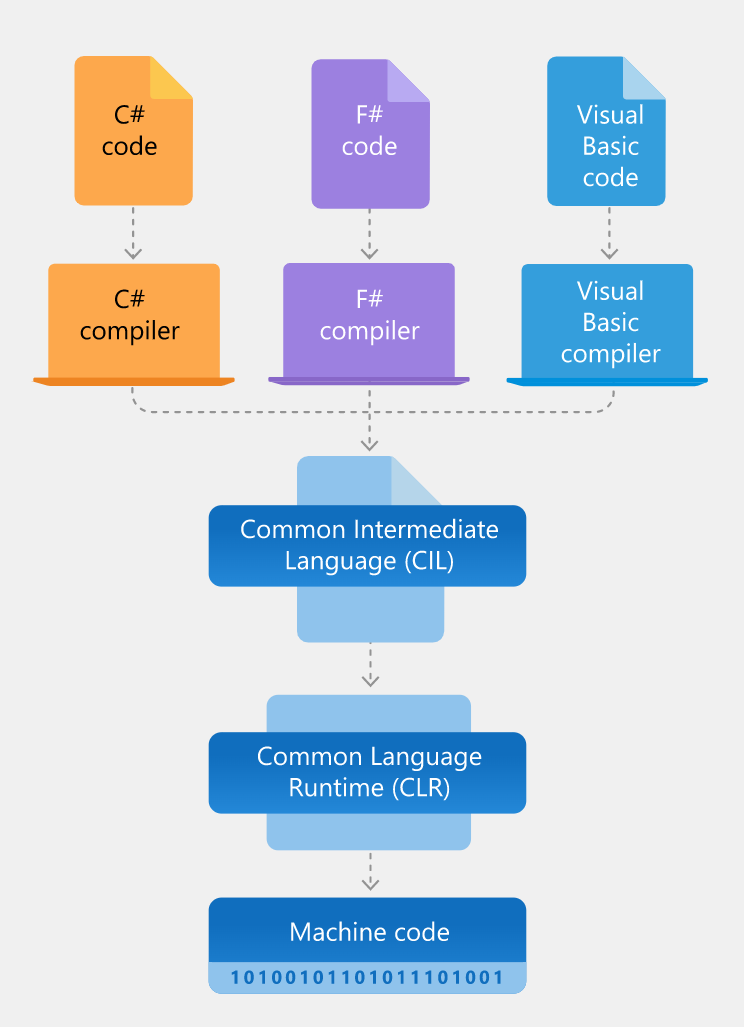
In order for our computers to execute code that we write, that code needs to be compiled, or built, into an executable program that a computer can understand. We write programs in language that is easy for us, as humans, to read (in this course, we use c#), but that is not what is executed by computers directly. Before a computer can understand the instructions of a program, our code needs to be transformed (compiled, or built) into computer language. The important thing to understand is that there are multiple steps happening in the background when we ‘run’ a program.
Think about the programs we have built in REPLit. When we hit the ‘Run’ button, does anything happen immediately? No. The REPLit program has to:
- Compile our code into an executable program.
- Tell its internal computer to execute (run) that program.
The good news is that we do not have to worry too much about all this ‘behind the scenes’ stuff because we have Integrated Development Environments (IDEs) that do this work for us.
An IDE combines the activities of:
- editing code
- building executables
- debugging.
REPLit is a very simple IDE. Today, we are going to start working with a much more robust IDE - Visual Studio
Downloading Visual Studio
We will follow these steps to download Visual Studio Community (a free IDE that is designed with C# in mind).
- Go to https://visualstudio.microsoft.com/free-developer-offers/
- Click
Free Downloadfor the Windows Visual Studio Community option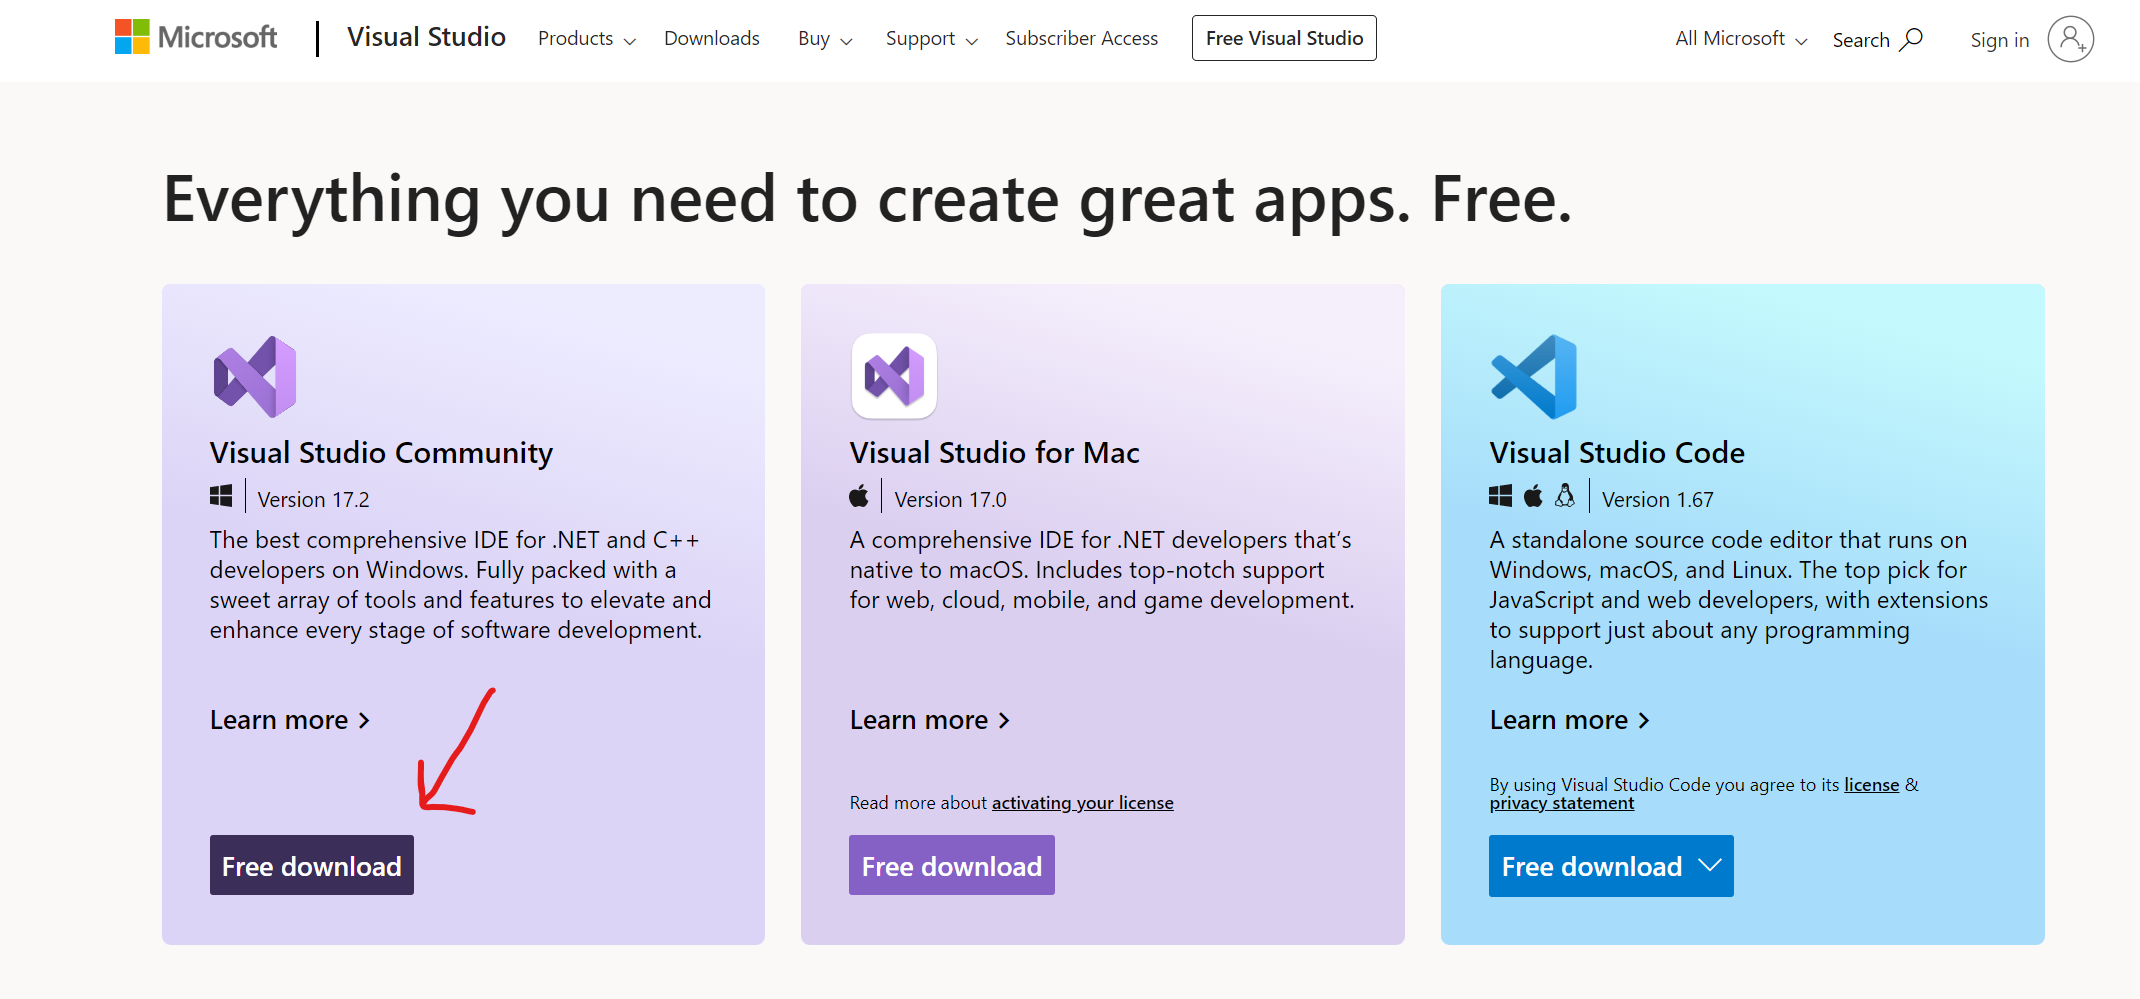
- Click on the VisualStudioSetup.Exe file download
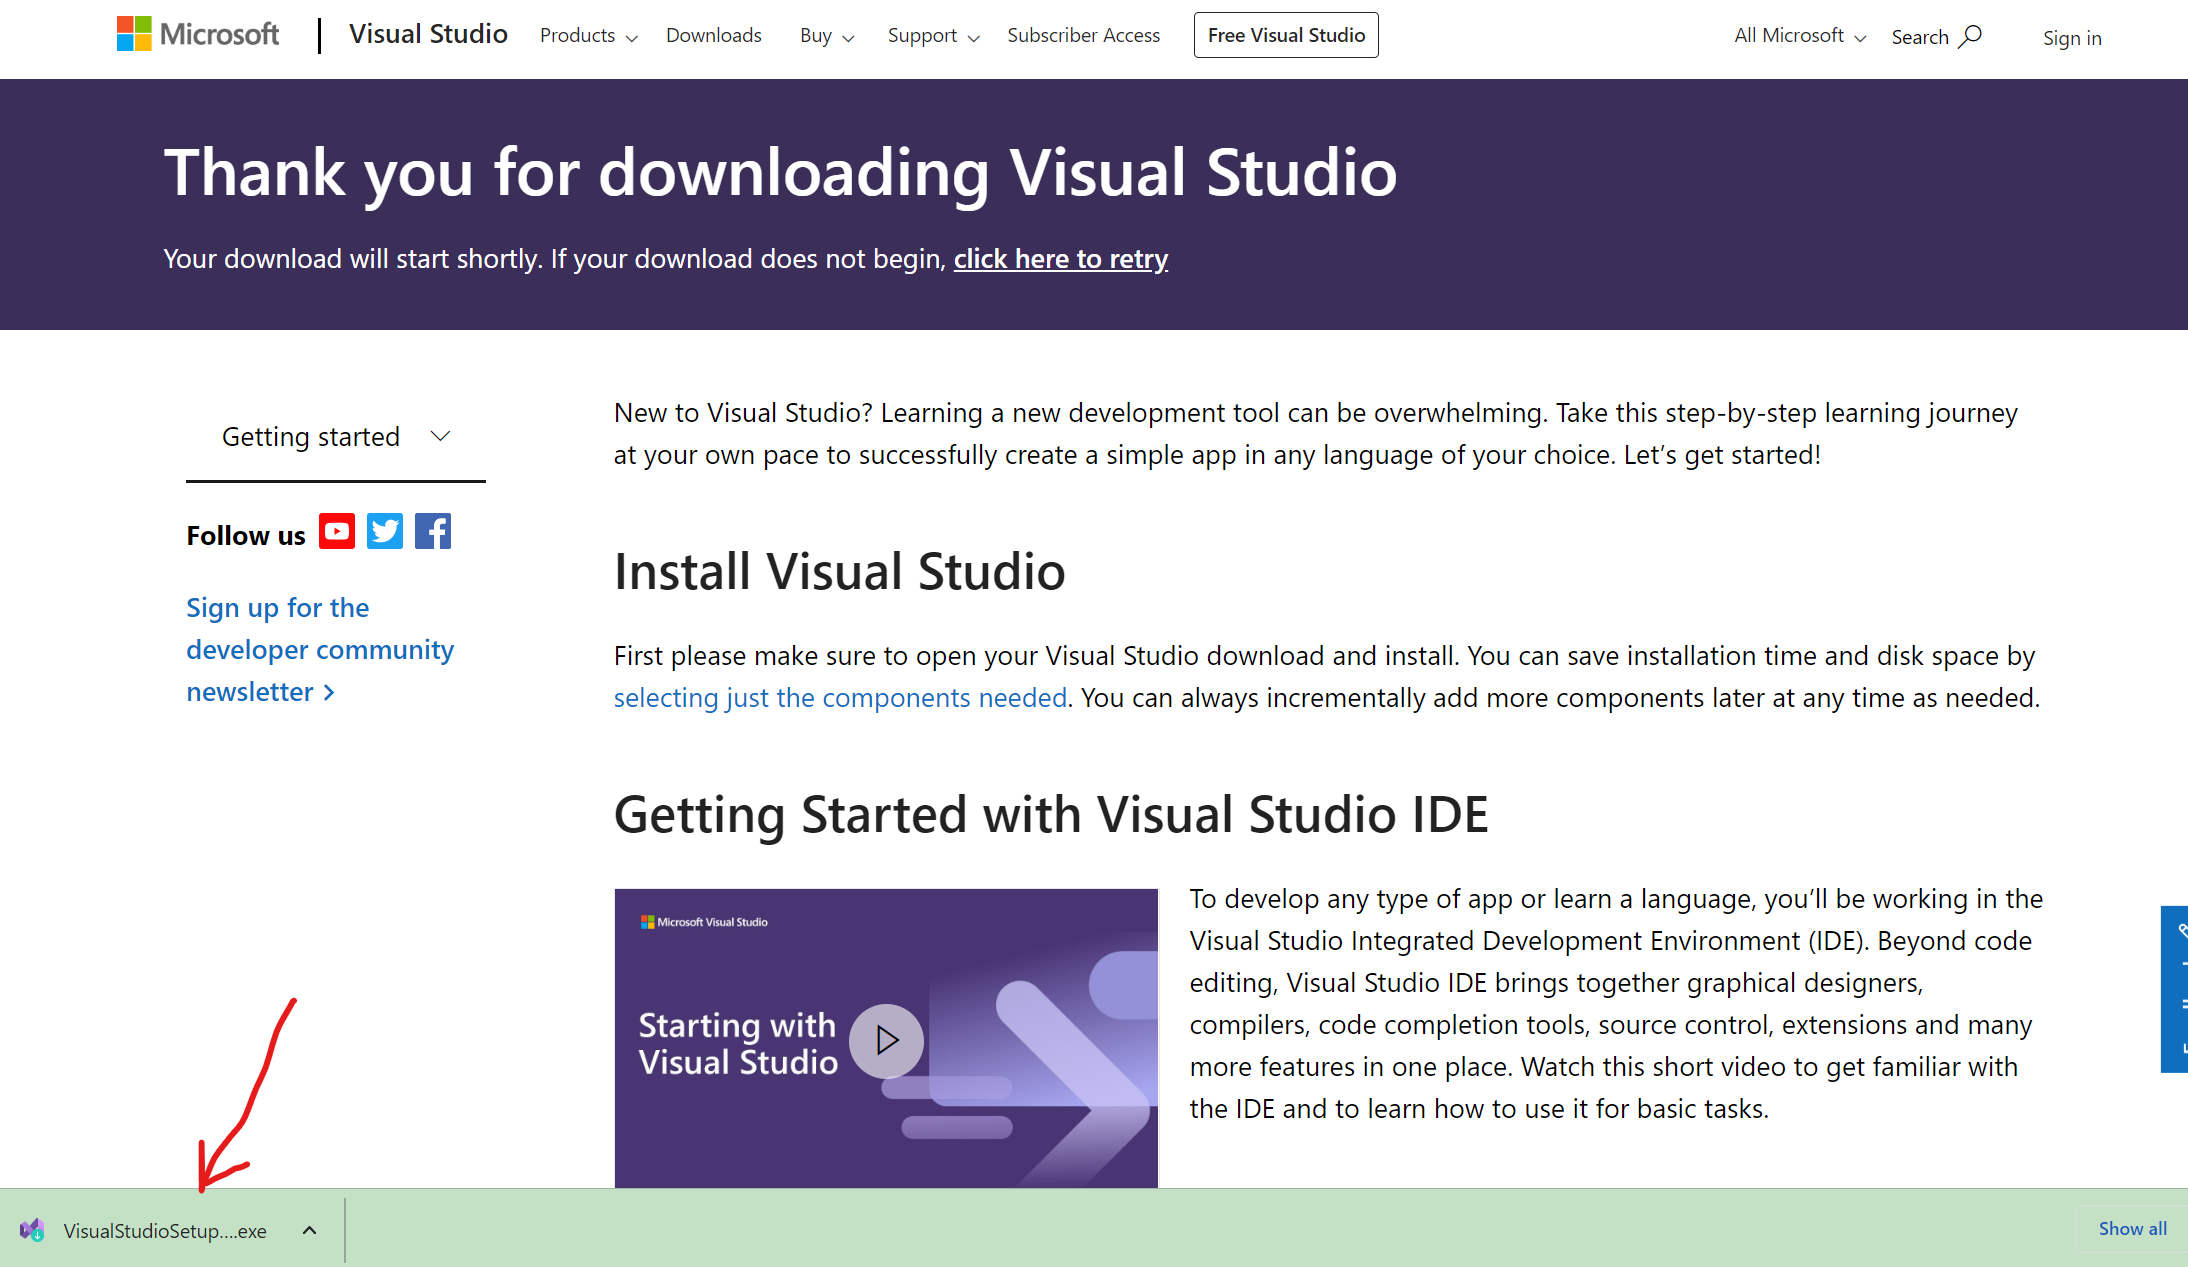
- When asked if you want to allow this program to make changes to your computer, click
YES. - Follow the prompts of the download wizard to complete setup. We will use all of the default settings.
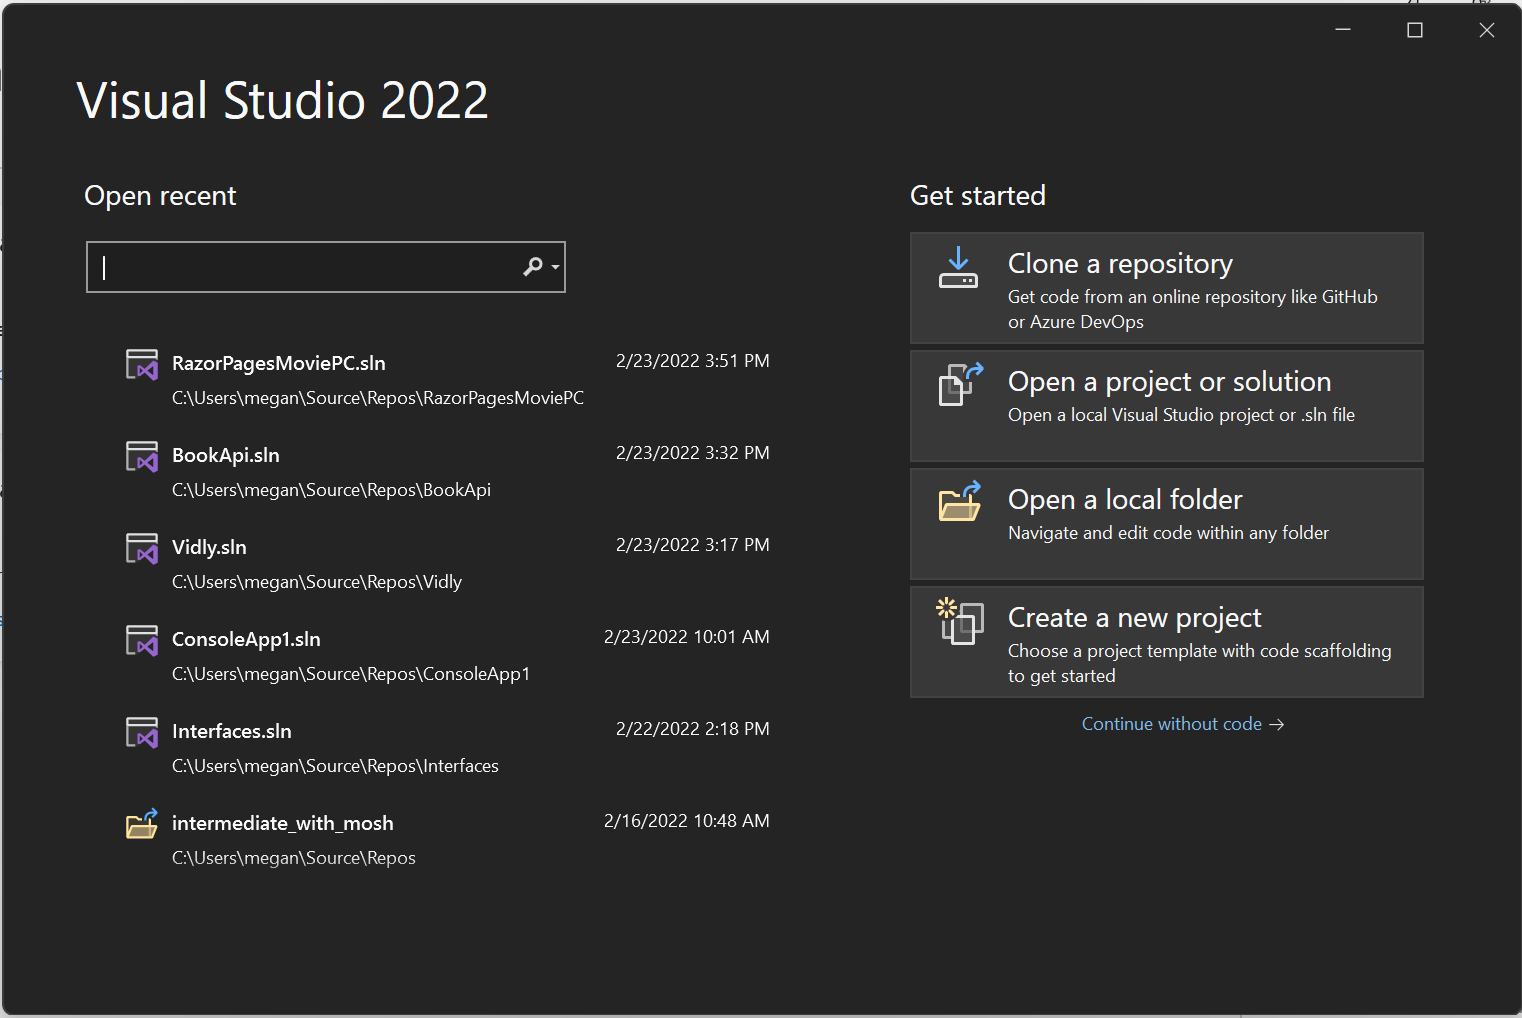
- When completed, you should see a screen like this (with fewer options on the left hand side)
.NET and Different Types of Programs
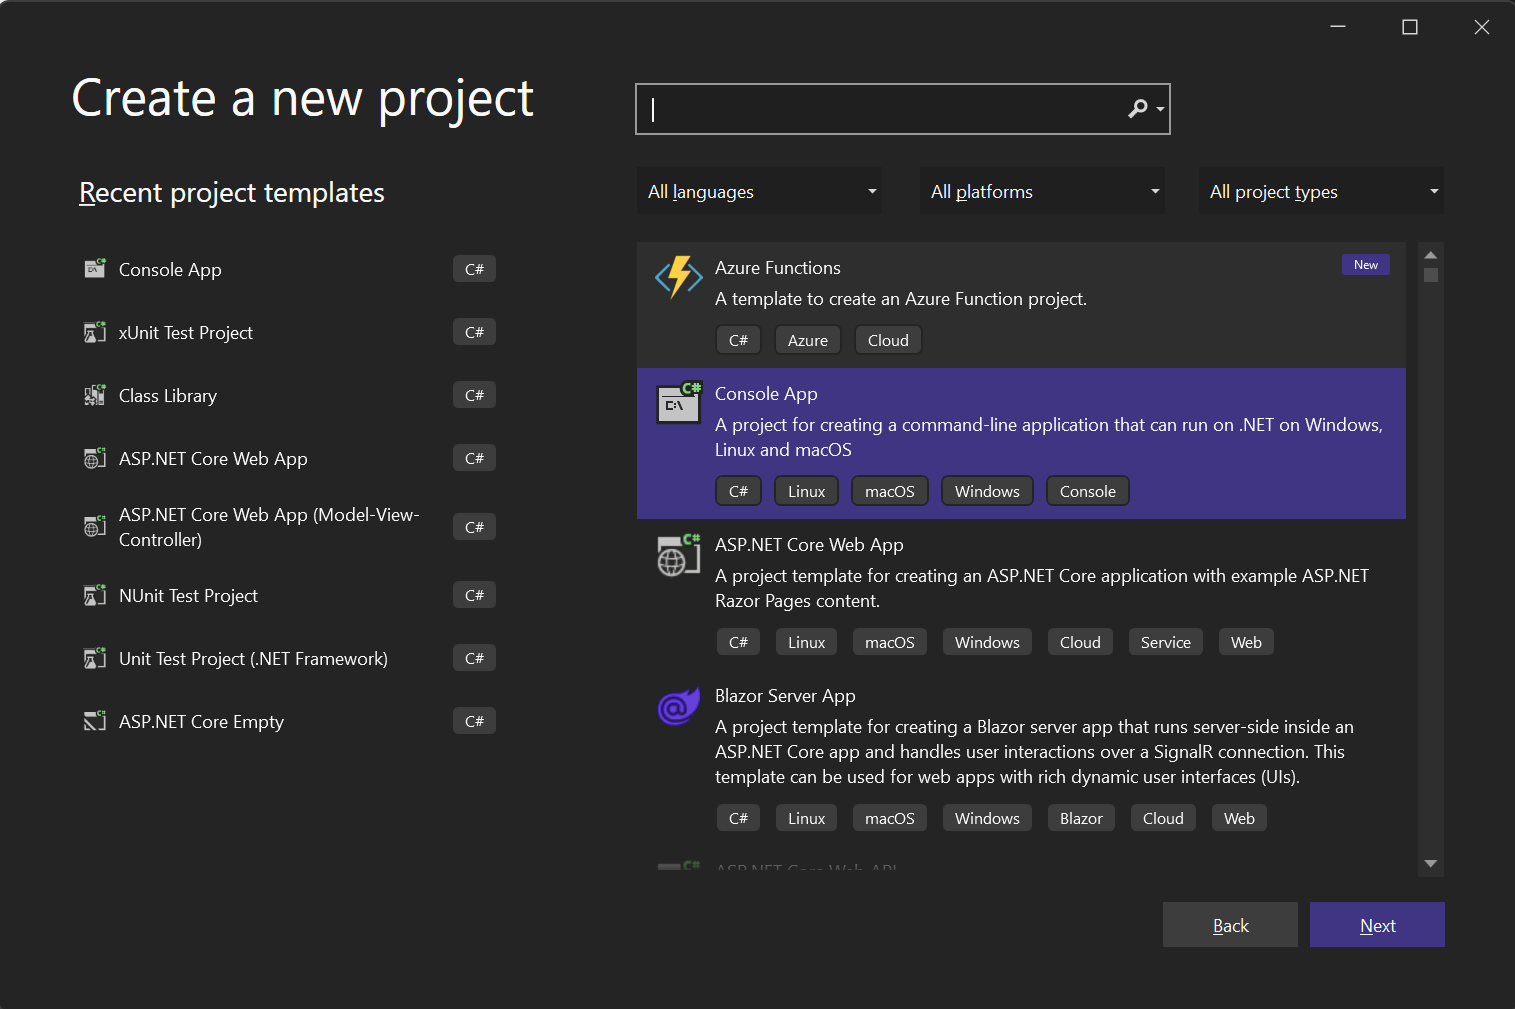
Now that we have our IDE downloaded, let’s start by creating a new program.
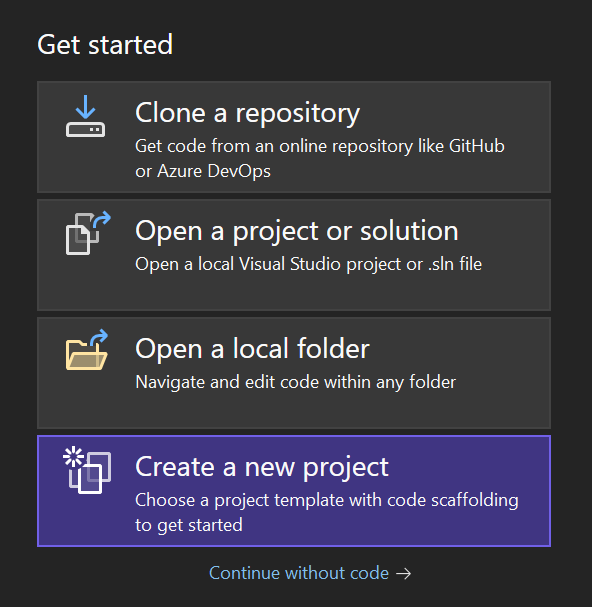
In REPLit, when we create a new project, all we do is select a language and we are good to go. With the Visual Studio IDE, there is a bit more to it.
We first need to decide what type of program we are going to create. Up to now, we have created programs that allow us to interact with the console; in other words, we have created Console Applications. We will continue working with Console Applications for now, but you can see there a lot of different types of programs we could choose from: ASP.NET Core Web App, Blazor Server App, ASP.NET Core Web API, etc…
.NET
Many of these program types reference .NET. .NET is a framework and Common Language Runtime for developing lots of different types of applications.
A Framework is a developer tool that gives us additional classes and methods that would not exist in plain c#.
A Common Language Runtime (CLR) is the engine that handles running applications. CLRs translate the code that we write into Machine Code (ones and zeros). The .NET CLR can handle C#, F#, and Visual Basic Code. We will continue to code in C#, but it is good to understand that there are other options available to us!
Let’s go back to our Visual Studio, select Console App, and click Next.
We will choose the framework we want to use - .NET 6.0, and click Create.

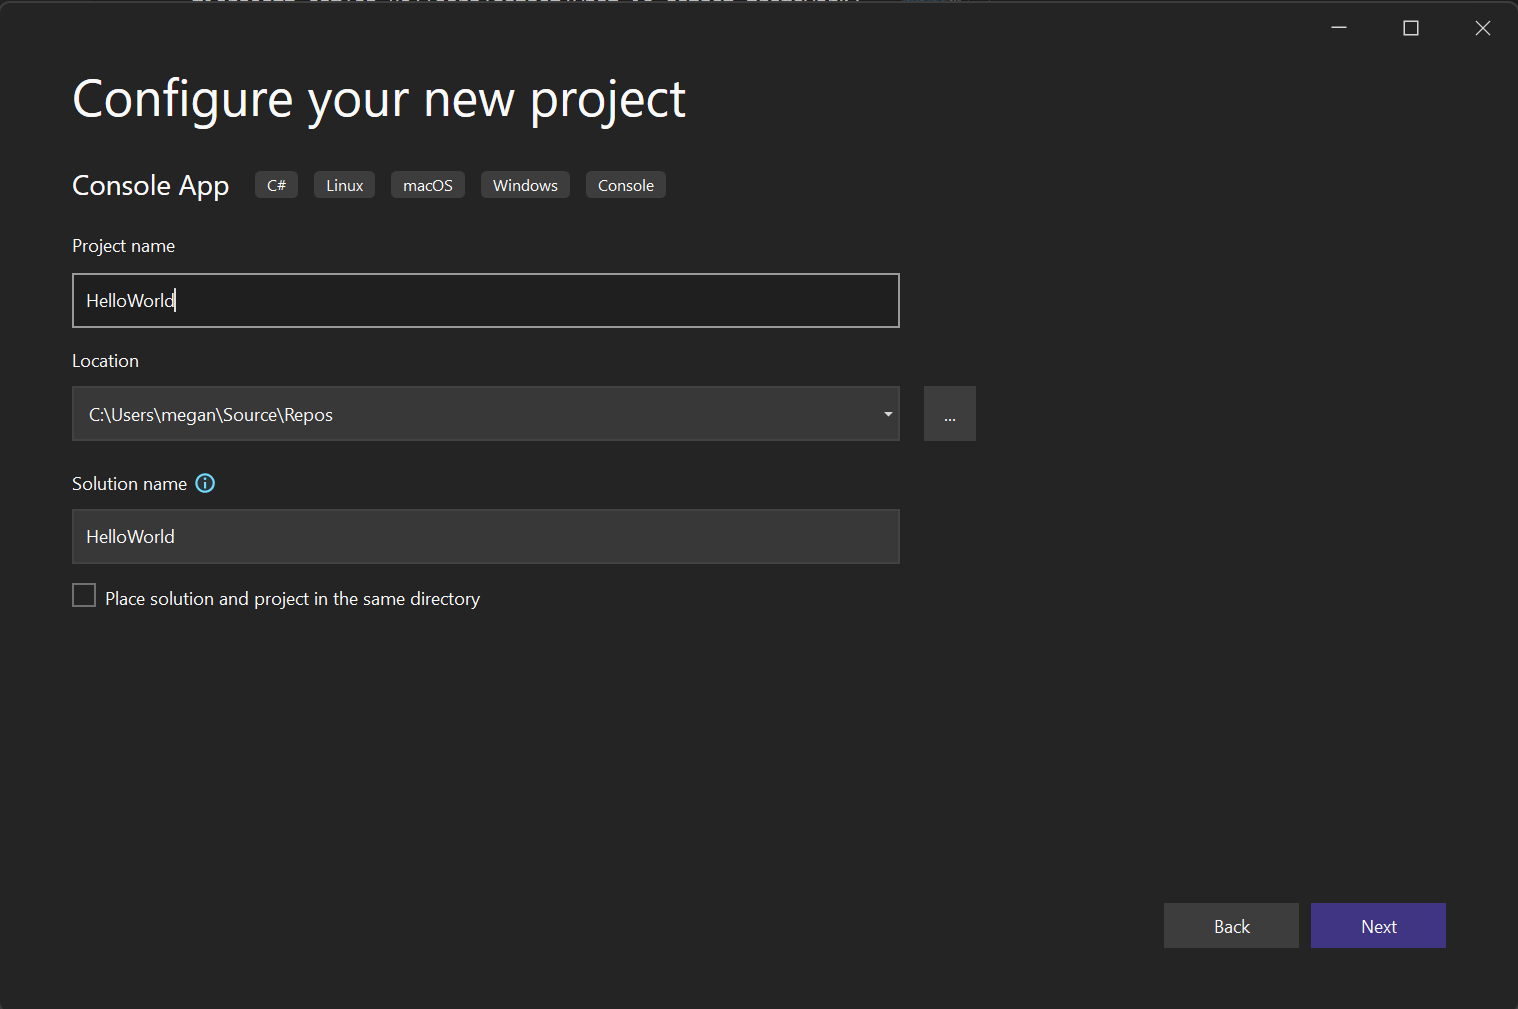
Lastly, we will give our project a name, HelloWorld. We can leave the project in the suggested folder, and let the solution name autocomplete.
After we click Next, .NET will build all the components we need to edit, build, debug and run a Console Application. We should see something like this:

One thing to note: IDEs are highly customizable to suit the needs of an individual developer. Your setup may not look exactly the same as mine, but it will have all the same components.
We already have some code in this project, so let’s run it, and see what happens. To run this program, click the button in the middle of the toolbar with the green ‘play’ icon.
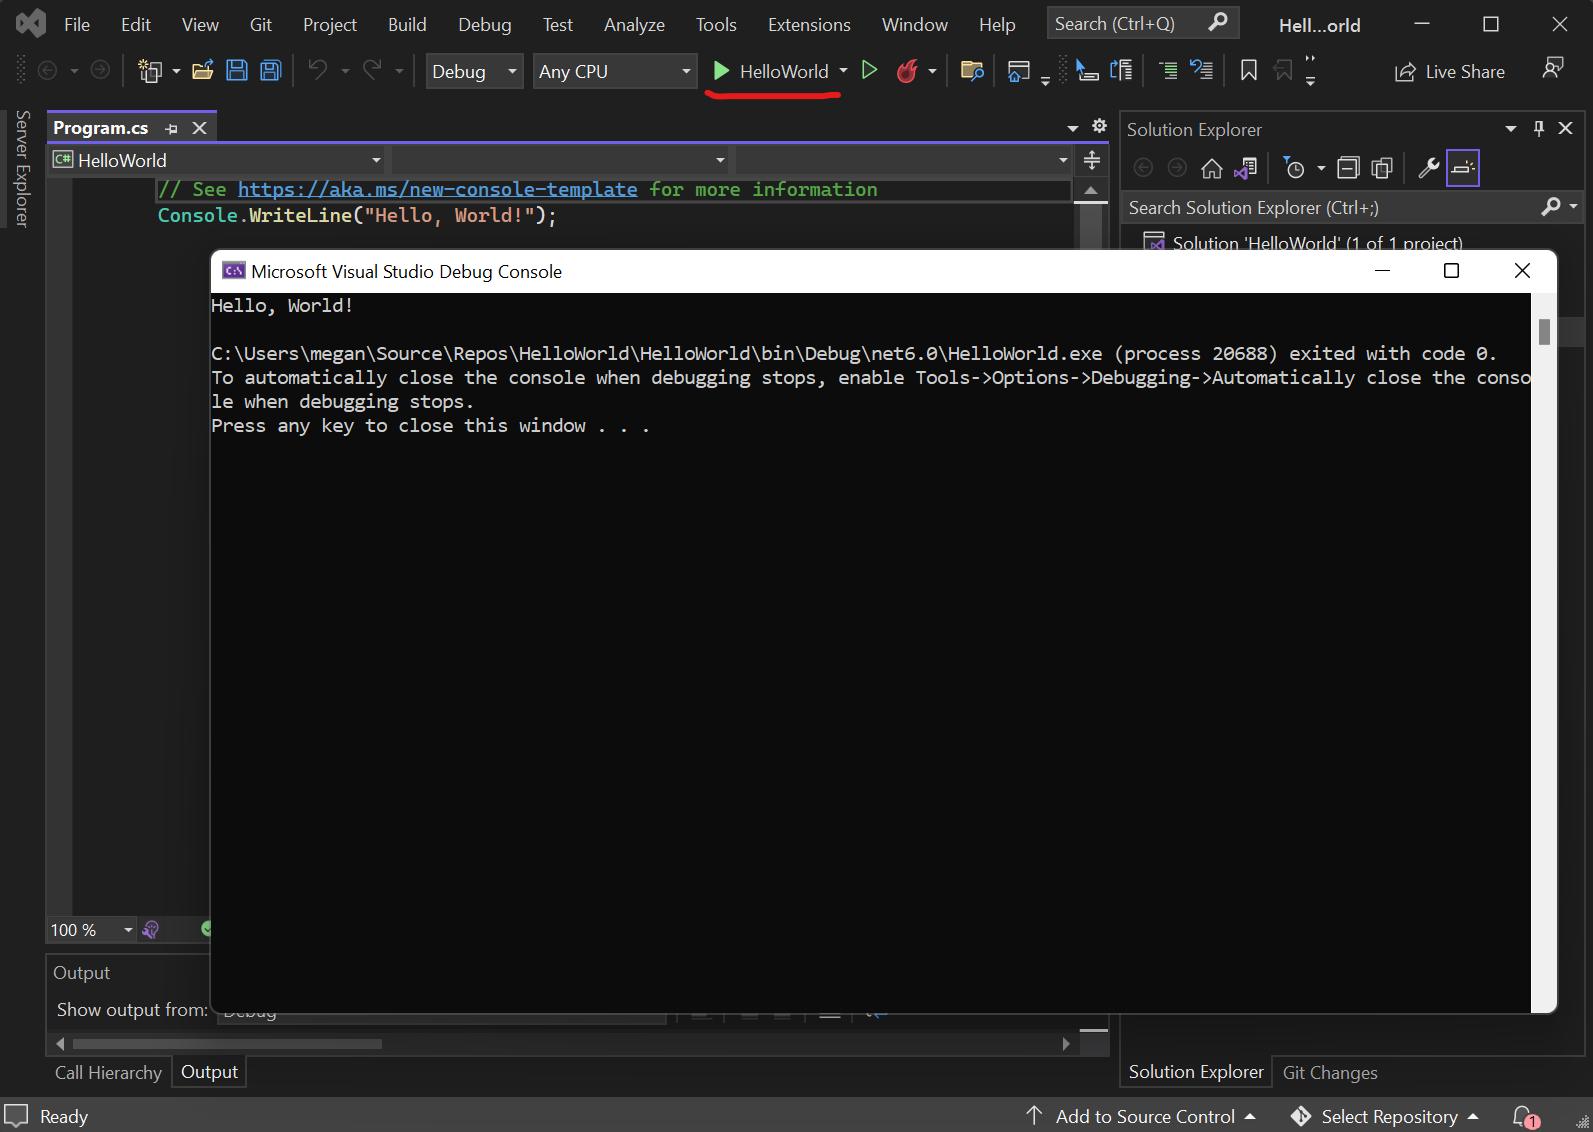
After running, you will see a Console Window appear. This is slightly different from the layout of REPLit, but you can think of it as the console pane on the right side of a replit project. Press any key to close that window, or close out of it with the ‘X’ in the upper right corner.
Anatomy of Visual Studio
There is a lot that we will be using in Video Studio over the coming months. We are going to focus on 4 features today:
- Solution Explorer
- Code Editor
- Run/Debug Functions
- Build/Debugging Output
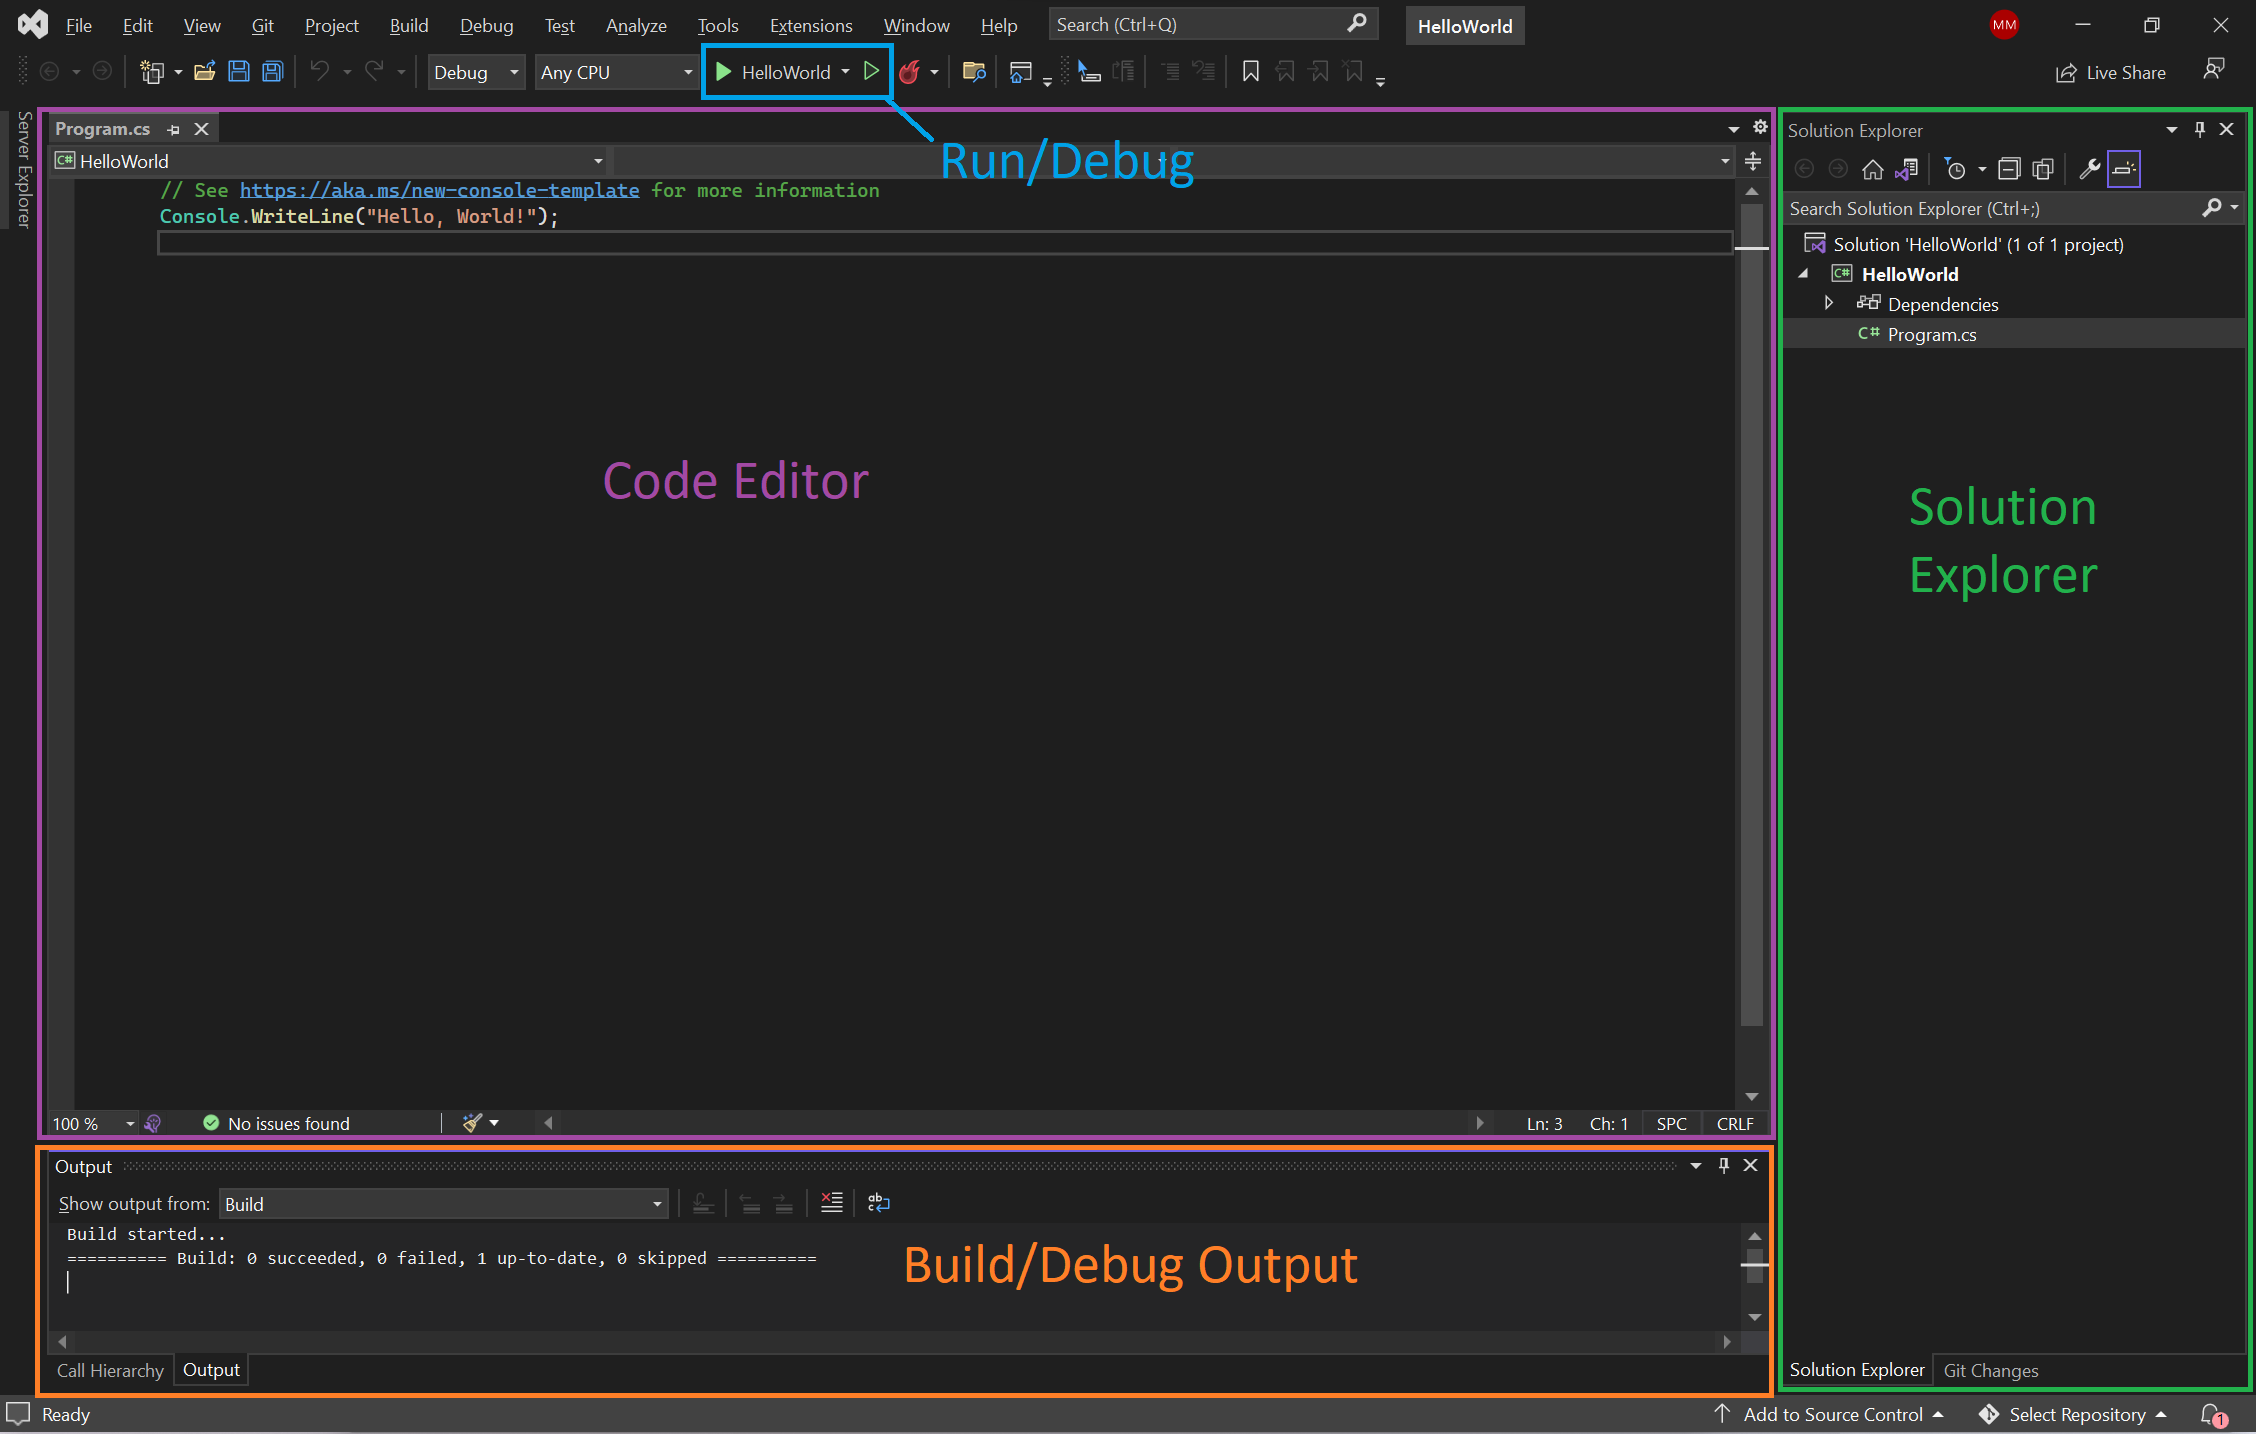
Code Editor: This is where you will write and edit code.
Solution Explorer: From here, you can navigate between different files in your program. This is also where you can see different aspects of the project setup. We will explore more about project setup in later lessons.
Build/Debug Output: When you run your project, the first thing that will happen is that the project will be built. Building is the process that .NET uses to compile our code into Computer Language. If there are any errors during the build process, they will be displayed here. Similarly, if we are debugging our program with breakpoints, we will see related information here - more on that later in the lesson!
Run/Debug: The filled green Play button is how we will execute (run) our programs. You can also use the keyboard shortcut F5 to run a program.
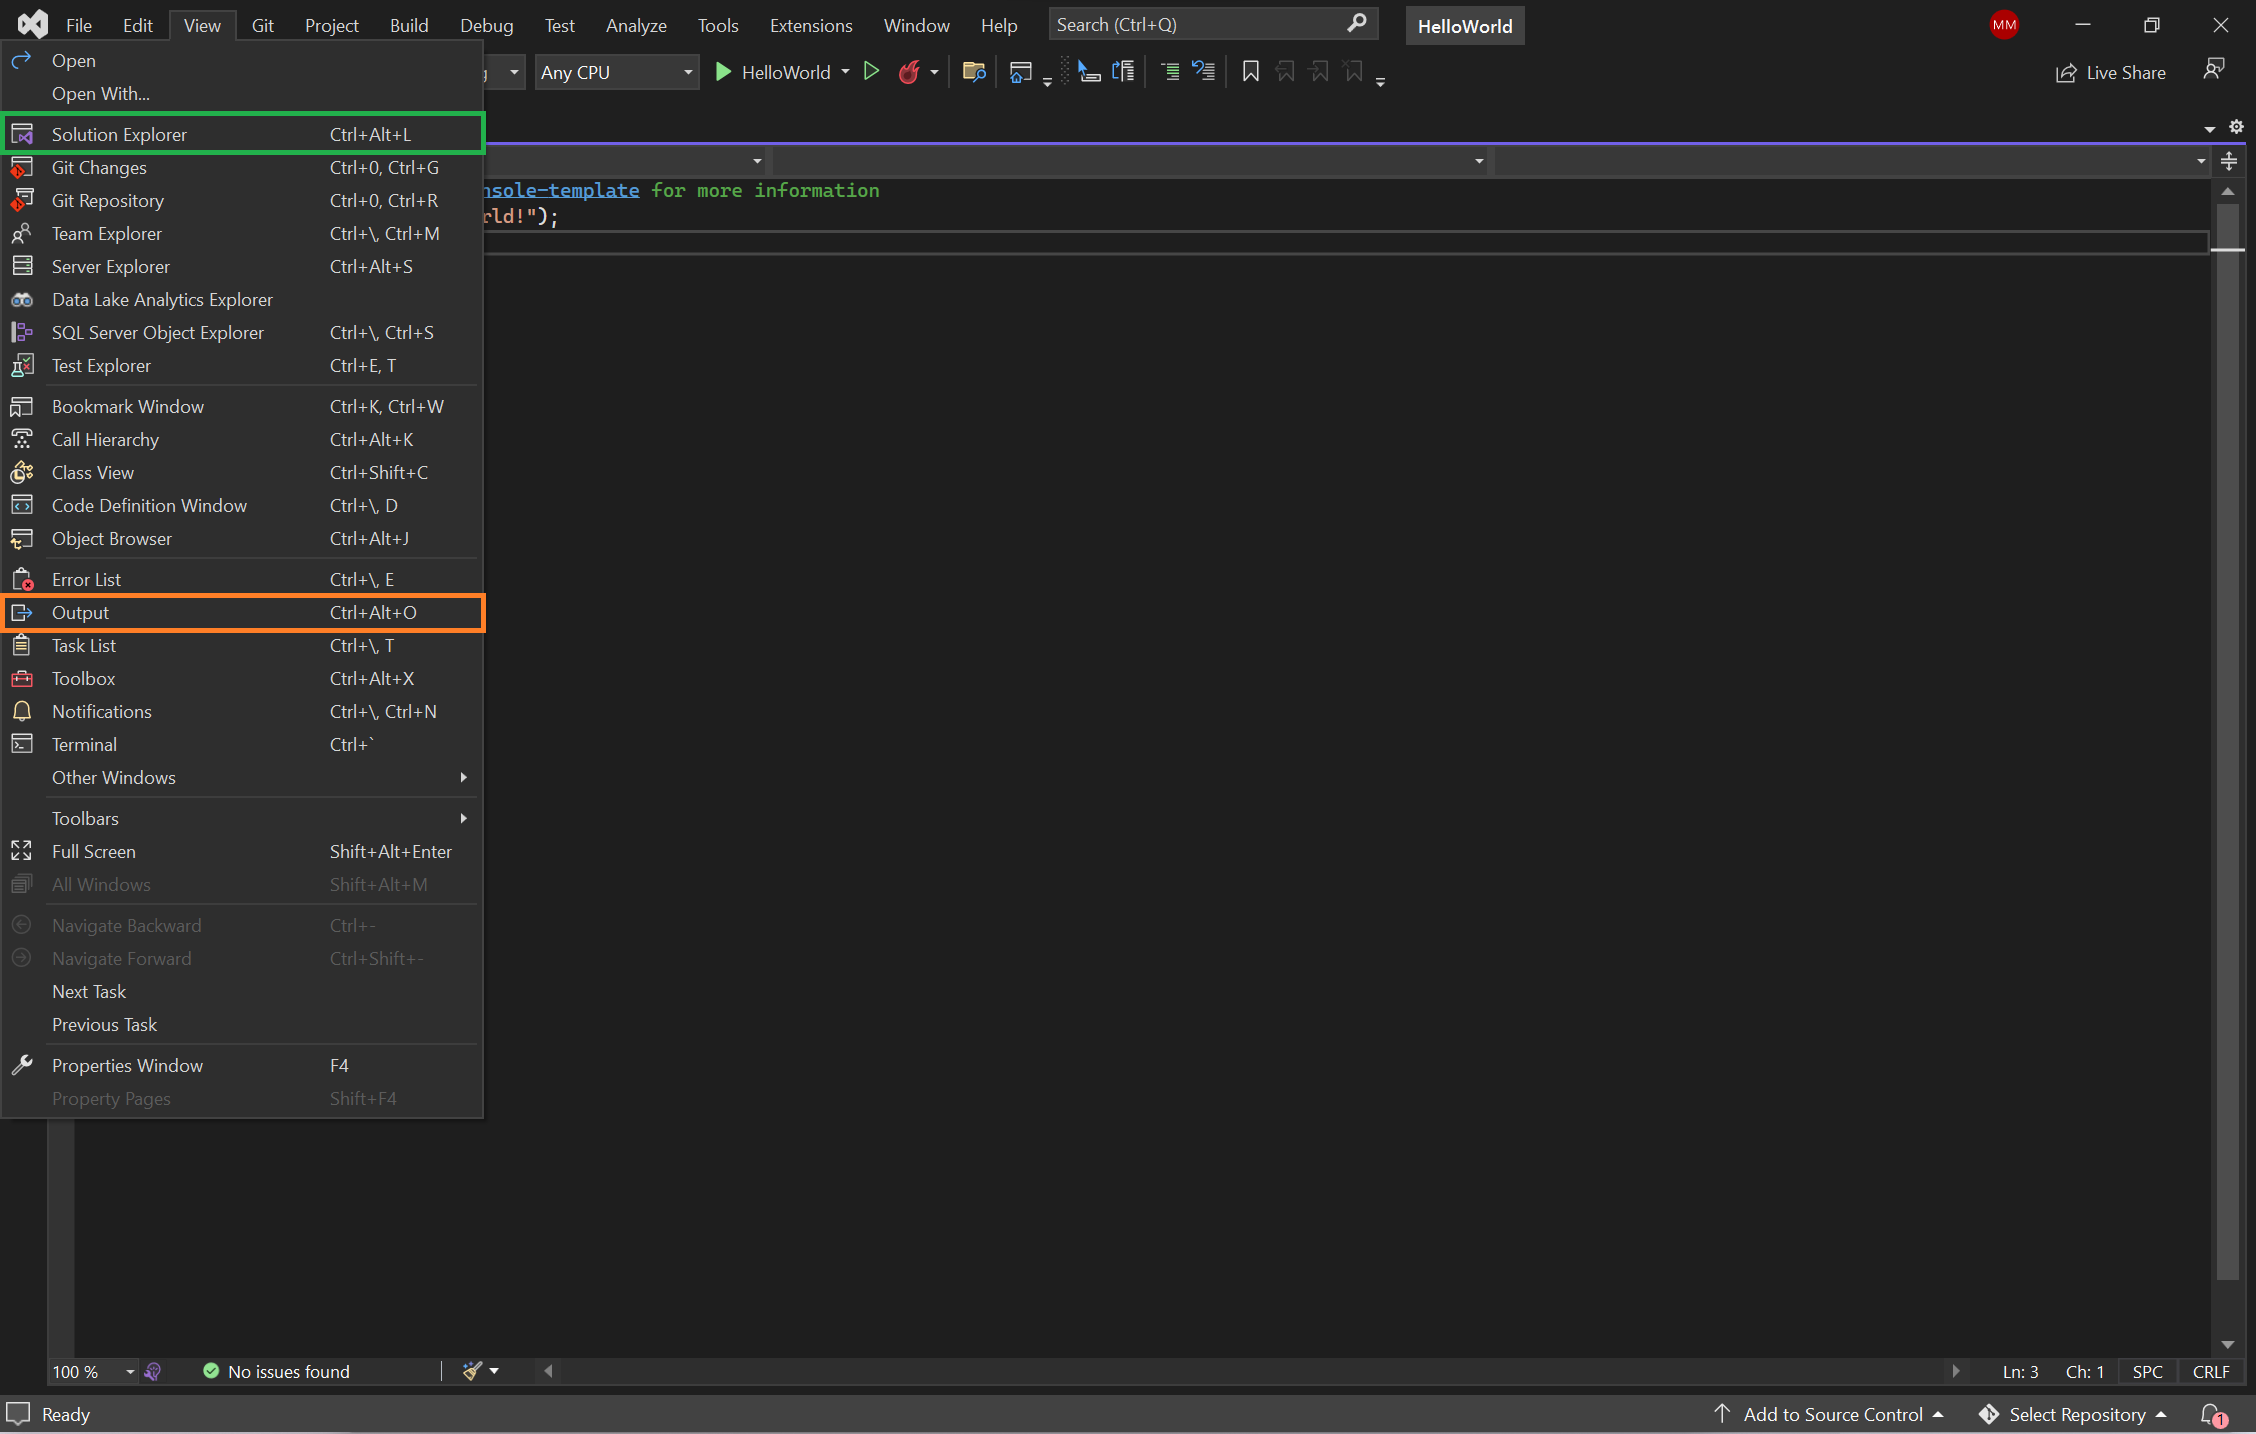
If at any point, your solution explorer or output panes disappear, you can use the View options to show them again.
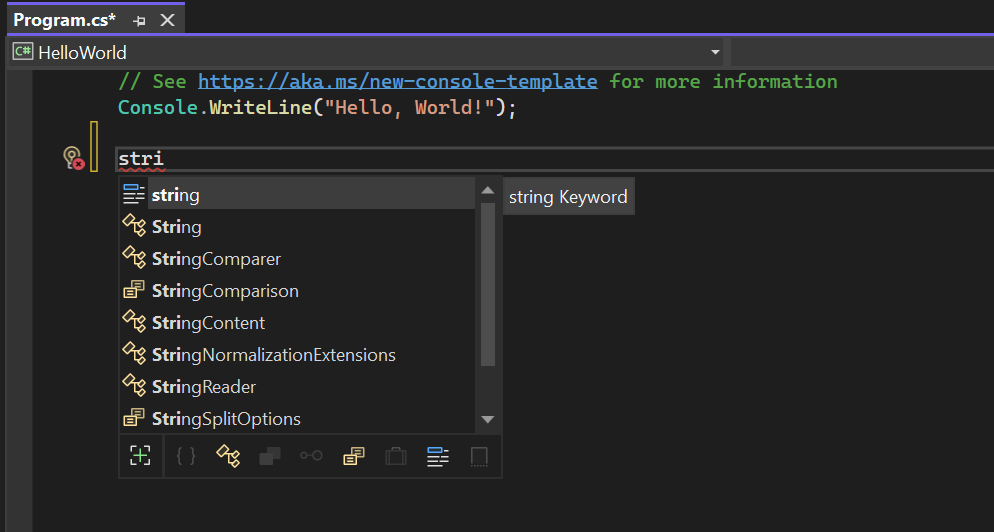
Intellisense
One of the benefits of using an IDE is the built-in auto-completion capabilities. In Visual Studio, this ability is referred to as intellisense.
If you start typing something, the IDE is going to try to guess what you want - you can accept the auto-completion with Tab. Try typing str; you’ll see that Visual Studio is suggesting keywords that it knows start with str....
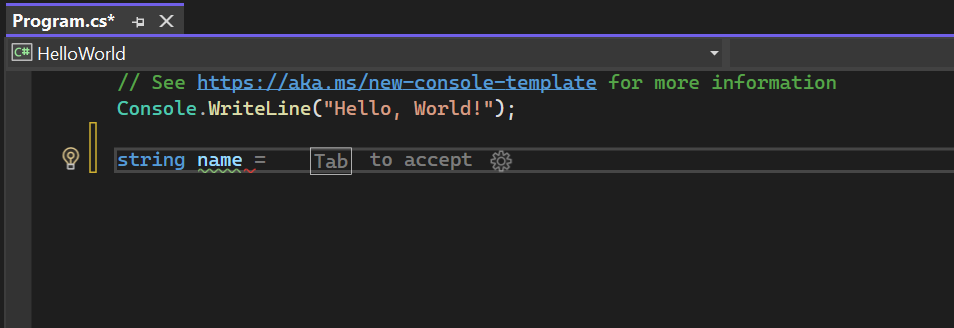
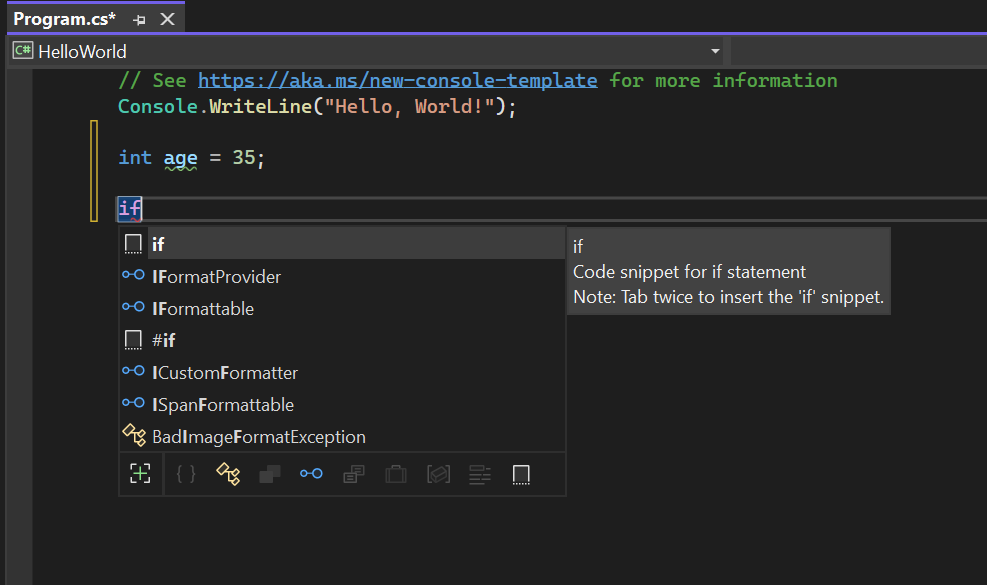
Intellisense will also offer suggestions for more complex snippets. For example, it will try to guess if you are assigning a variable:
You might come across an even more complex suggestion when creating specific code blocks - these suggestions can be accepted by hitting Tab twice.
Customization
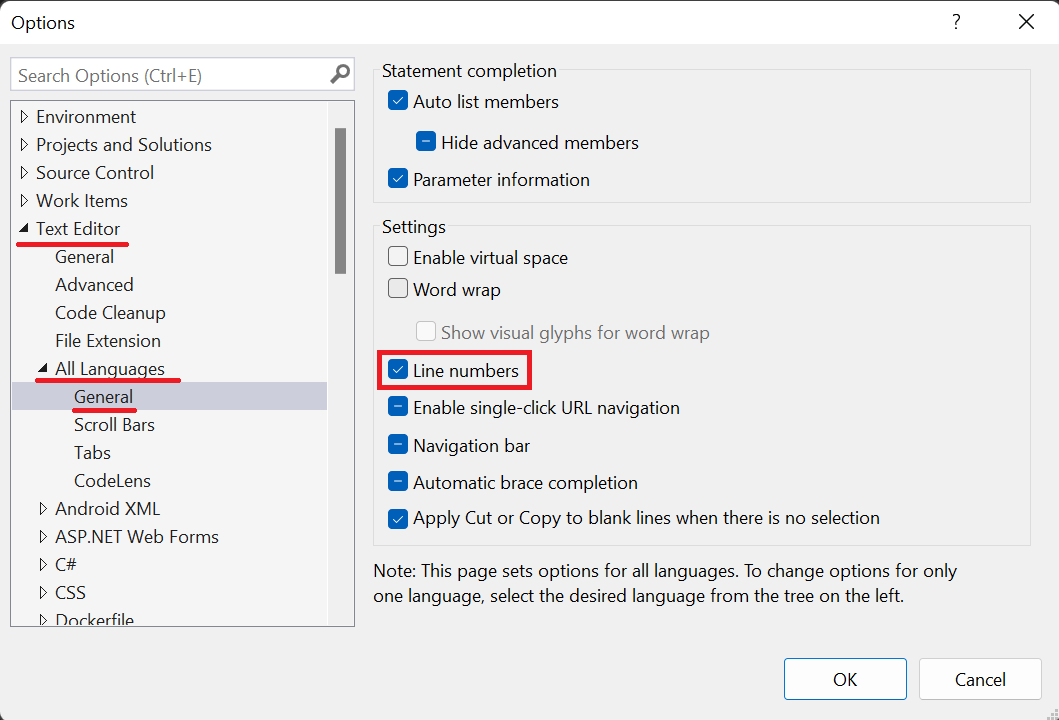
The Visual Studio IDE is highly customizable. There are a lot of changes you could make to the appearance. One customization that we will definitely want to make is to add the line numbers to the code editor (this will be helpful when describing your code, and debugging).
Follow these steps:
- Under
Tools, selectOptions - Expand
Text Editor,All Languages - Select
General - Check the box for
Line Numbersand clickOK
For more information on customizations, you can review the Microsoft Docs.
Practice
With a partner, work through the following exercises. You should collaborate on how to complete the tasks, and both complete them on your own machine.
- Create a Dictionary with movie genres as Keys, and a movie in that genre as Values. You could use this data as a starting point:
- Comedy: Ghostbusters
- Drama: the Imitation Game
- Thriller: Atomic Blonde
- Ask a user for a movie genre; continue asking if the genre provided is not a key in the dictionary (you can hard-code this, or take a look at the Contains() method.)
- Output a movie to the user based on their suggestion.
Checks for Understanding
- What is an IDE?
- What are some benefits of using an IDE?